-
Who This Checklist Is For
-
The 6-Step Checklist
-
Step 1: Verify the Catalog Number Against the Surgical Plan
-
Step 2: Check Sterile Packaging Before It Goes Into Inventory
-
Step 3: Match Surgical Stapler Reloads to the Stapler Model
-
Step 4: Confirm Operating Table Compatibility, Not Just the Base Model
-
Step 5: Plan Endoscope Storage Before the Scope Arrives
-
Step 6: Match Lot Numbers and Register the Device Before Signing the Receipt
-
Step 1: Verify the Catalog Number Against the Surgical Plan
-
Notes From Eight Years of Ordering
Who This Checklist Is For
If you're the person who puts together purchase orders for implants, instruments, and surgical equipment, this is for you. I've been a supply coordinator for an ambulatory surgery center for eight years, and I've personally made (and documented) 11 ordering mistakes that added up to roughly $14,000 in wasted budget. The most frustrating part? Most of those mistakes were avoidable if I'd had a simple checklist.
This checklist applies to routine orders for Zimmer Biomet medical devices, orthopedic implants, dental implants, a surgical stapler, an operating table, and even endoscopes. (Yes, endoscopes aren't implants, but they arrive in the same building and get stored incorrectly just as often.)
One note before the steps: if you're a small clinic or a solo practice, don't let a smaller order get less attention. I've been the person ordering a single dental implant kit and being treated like an inconvenience. The reps who took that order seriously are still on our vendor list today. Small doesn't mean unimportant; it means potential.
The 6-Step Checklist
Step 1: Verify the Catalog Number Against the Surgical Plan
This sounds too obvious to include. It isn't. I once ordered a Zimmer Biomet orthopedic implant with the correct size but the wrong side. It looked fine on my screen. We caught the error when the nurse read the label before opening—after the patient was already prepped. That mistake cost us $780 in redo shipping plus a 45-minute delay.
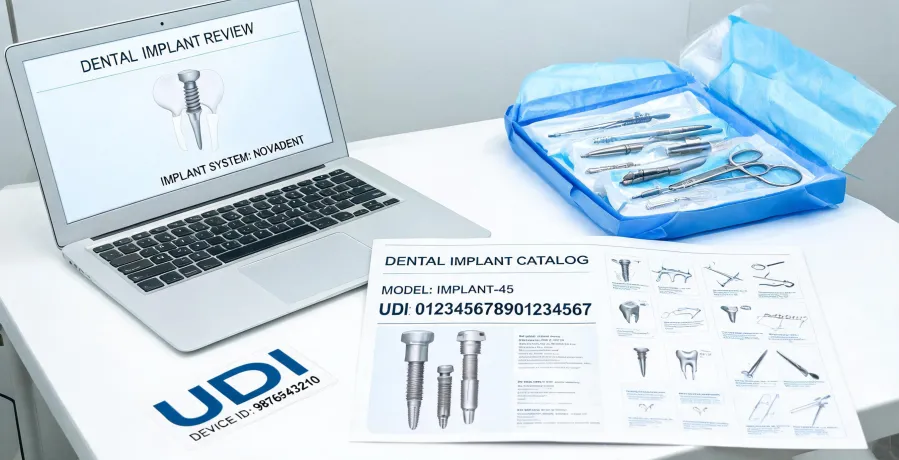
For every orthopedic implant, check the side, size, and any additional components (augments, stems, screws) against the surgeon's preference card or the patient's surgical plan. For Zimmer Biomet dental implants, verify the diameter, length, and matching abutment. The name on the catalog page is not enough. Use the exact product code from the rep's quote and the product catalog.
Step 2: Check Sterile Packaging Before It Goes Into Inventory
Most Zimmer Biomet medical devices arrive sterile. That doesn't mean they arrived sterile. I learned this with a batch of screws where the outer box looked fine but the inner pouch had a hole. We only saw it because the sales rep noticed the package was crinkled. The whole lot went back.
- Confirm the sterile barrier is intact and the expiration date is valid.
- Look for the indicator window (if present) and check that it hasn't already changed color.
- Check that the implant is marked single-use. Don't assume a local sterilization cycle can fix a questionable package.
- If anything looks off, quarantine the item and call the manufacturer before deciding.
Step 3: Match Surgical Stapler Reloads to the Stapler Model
Surgical staplers have more variations than you'd expect. Jaw length, shaft type, and reload size all need to match. I once approved an order for a surgical stapler and assumed the reloads were included. They weren't. The stapler arrived, the reloads didn't, and the case had to be switched to a backup instrument.
When you order a surgical stapler, check the product code on each reload against the stapler's model number. Pay attention to color coding and package labels. And if you're getting a powered stapler, confirm whether the battery or handheld component is included or needs a separate purchase order.
Step 4: Confirm Operating Table Compatibility, Not Just the Base Model
Operating table ordering is where the phrase I thought that was included gets expensive. I once approved a table without checking whether our existing arm boards would fit. They didn't. We had to buy a second set of adapters.
The question isn't whether the table is compatible with the building. It's whether the table is compatible with the accessories you already own. Before signing, verify:
- Weight capacity for your patient population and the procedures you plan to do.
- Rail system compatibility with the accessories you already have.
- Imaging clearance, especially for C-arm or robot-assisted cases. For a Zimmer Biomet ROSA setup, the table needs to work with the robot's tracking array and patient positioning requirements.
- What's included in the base price. Many operating tables are sold without a mattress, side rails, or anesthesia screen. (The base table can be the cheapest part; the accessories are where the budget disappears.)
Step 5: Plan Endoscope Storage Before the Scope Arrives
One question I hear often from new staff in our clinic: How do you store endoscopes? The short answer is vertical, but there's more to it. According to AAMI ST91 and the CDC's Guideline for Disinfection and Sterilization in Healthcare Facilities (cdc.gov), endoscopes should be stored in a way that allows moisture to drain and air to circulate. In practice, that means:
- Hang flexible endoscopes vertically with the distal end hanging free, not coiled in a drawer.
- Keep the storage cabinet dry and ventilated. Don't put damp scopes inside.
- Remove detachable parts, like valves, and store them separately so moisture doesn't hide.
- Follow the manufacturer's minimum bend radius. Coiling a scope too tightly can damage the insertion tube, even if it doesn't look damaged.
- Don't use the shipping case as the storage cabinet. Shipping cases are for transport, not day-to-day storage.
I didn't pay attention to bend radius in my first year. The result was a $2,500 repair bill and a lot of quiet embarrassment. That was the mistake that forced me to write this part of the checklist.
Step 6: Match Lot Numbers and Register the Device Before Signing the Receipt
This is the step that most people skip. I understand why—the delivery area is busy, the rep needs a signature, and the item looks fine. But if there's a recall, or if the surgeon asks for a specific lot, you need to know exactly what you have.
My current routine:
- Compare the lot number and expiration date on the implant package, the outer box, and the invoice.
- Enter the item into inventory (or the consignment log) before putting it on the shelf.
- Photograph the label and save it in the digital file. Do this even for small orders. One missing dental implant can make an entire consignment audit painful.
- If there is any discrepancy, note it on the delivery receipt and contact the rep before you sign.
Sure, it takes three extra minutes per box. But three minutes is a lot cheaper than not being able to find the lot number for an implant.
Notes From Eight Years of Ordering
The most expensive words in medical procurement are: I thought that was included.
A few things to keep in mind:
- If a product is labeled single-use, don't try to resterilize it. The package's sterility cannot be guaranteed after exposure.
- Don't rely on a phone call to remember details. Send the rep a written order confirmation.
- If you're in a small clinic, don't let the small-order feeling rush you. The same checklist applies to one dental implant as to a full trauma tray.
Caveat: my experience comes from one ambulatory surgery center and a small outpatient dental clinic. If you're in a large hospital system, your vendor relationships and purchasing processes will be different. This checklist is not a replacement for Zimmer Biomet's official documentation, your facility's policies, or your clinical team's judgment. (And yes, I do keep a physical copy by the receiving desk. Old habits.)

Leave a Reply